What Exterior Matches a Green Roof?
sierpień 4, 2023
Capillary Rise
wrzesień 11, 2023Stucco vs. Plasterwork: How Are They Made?
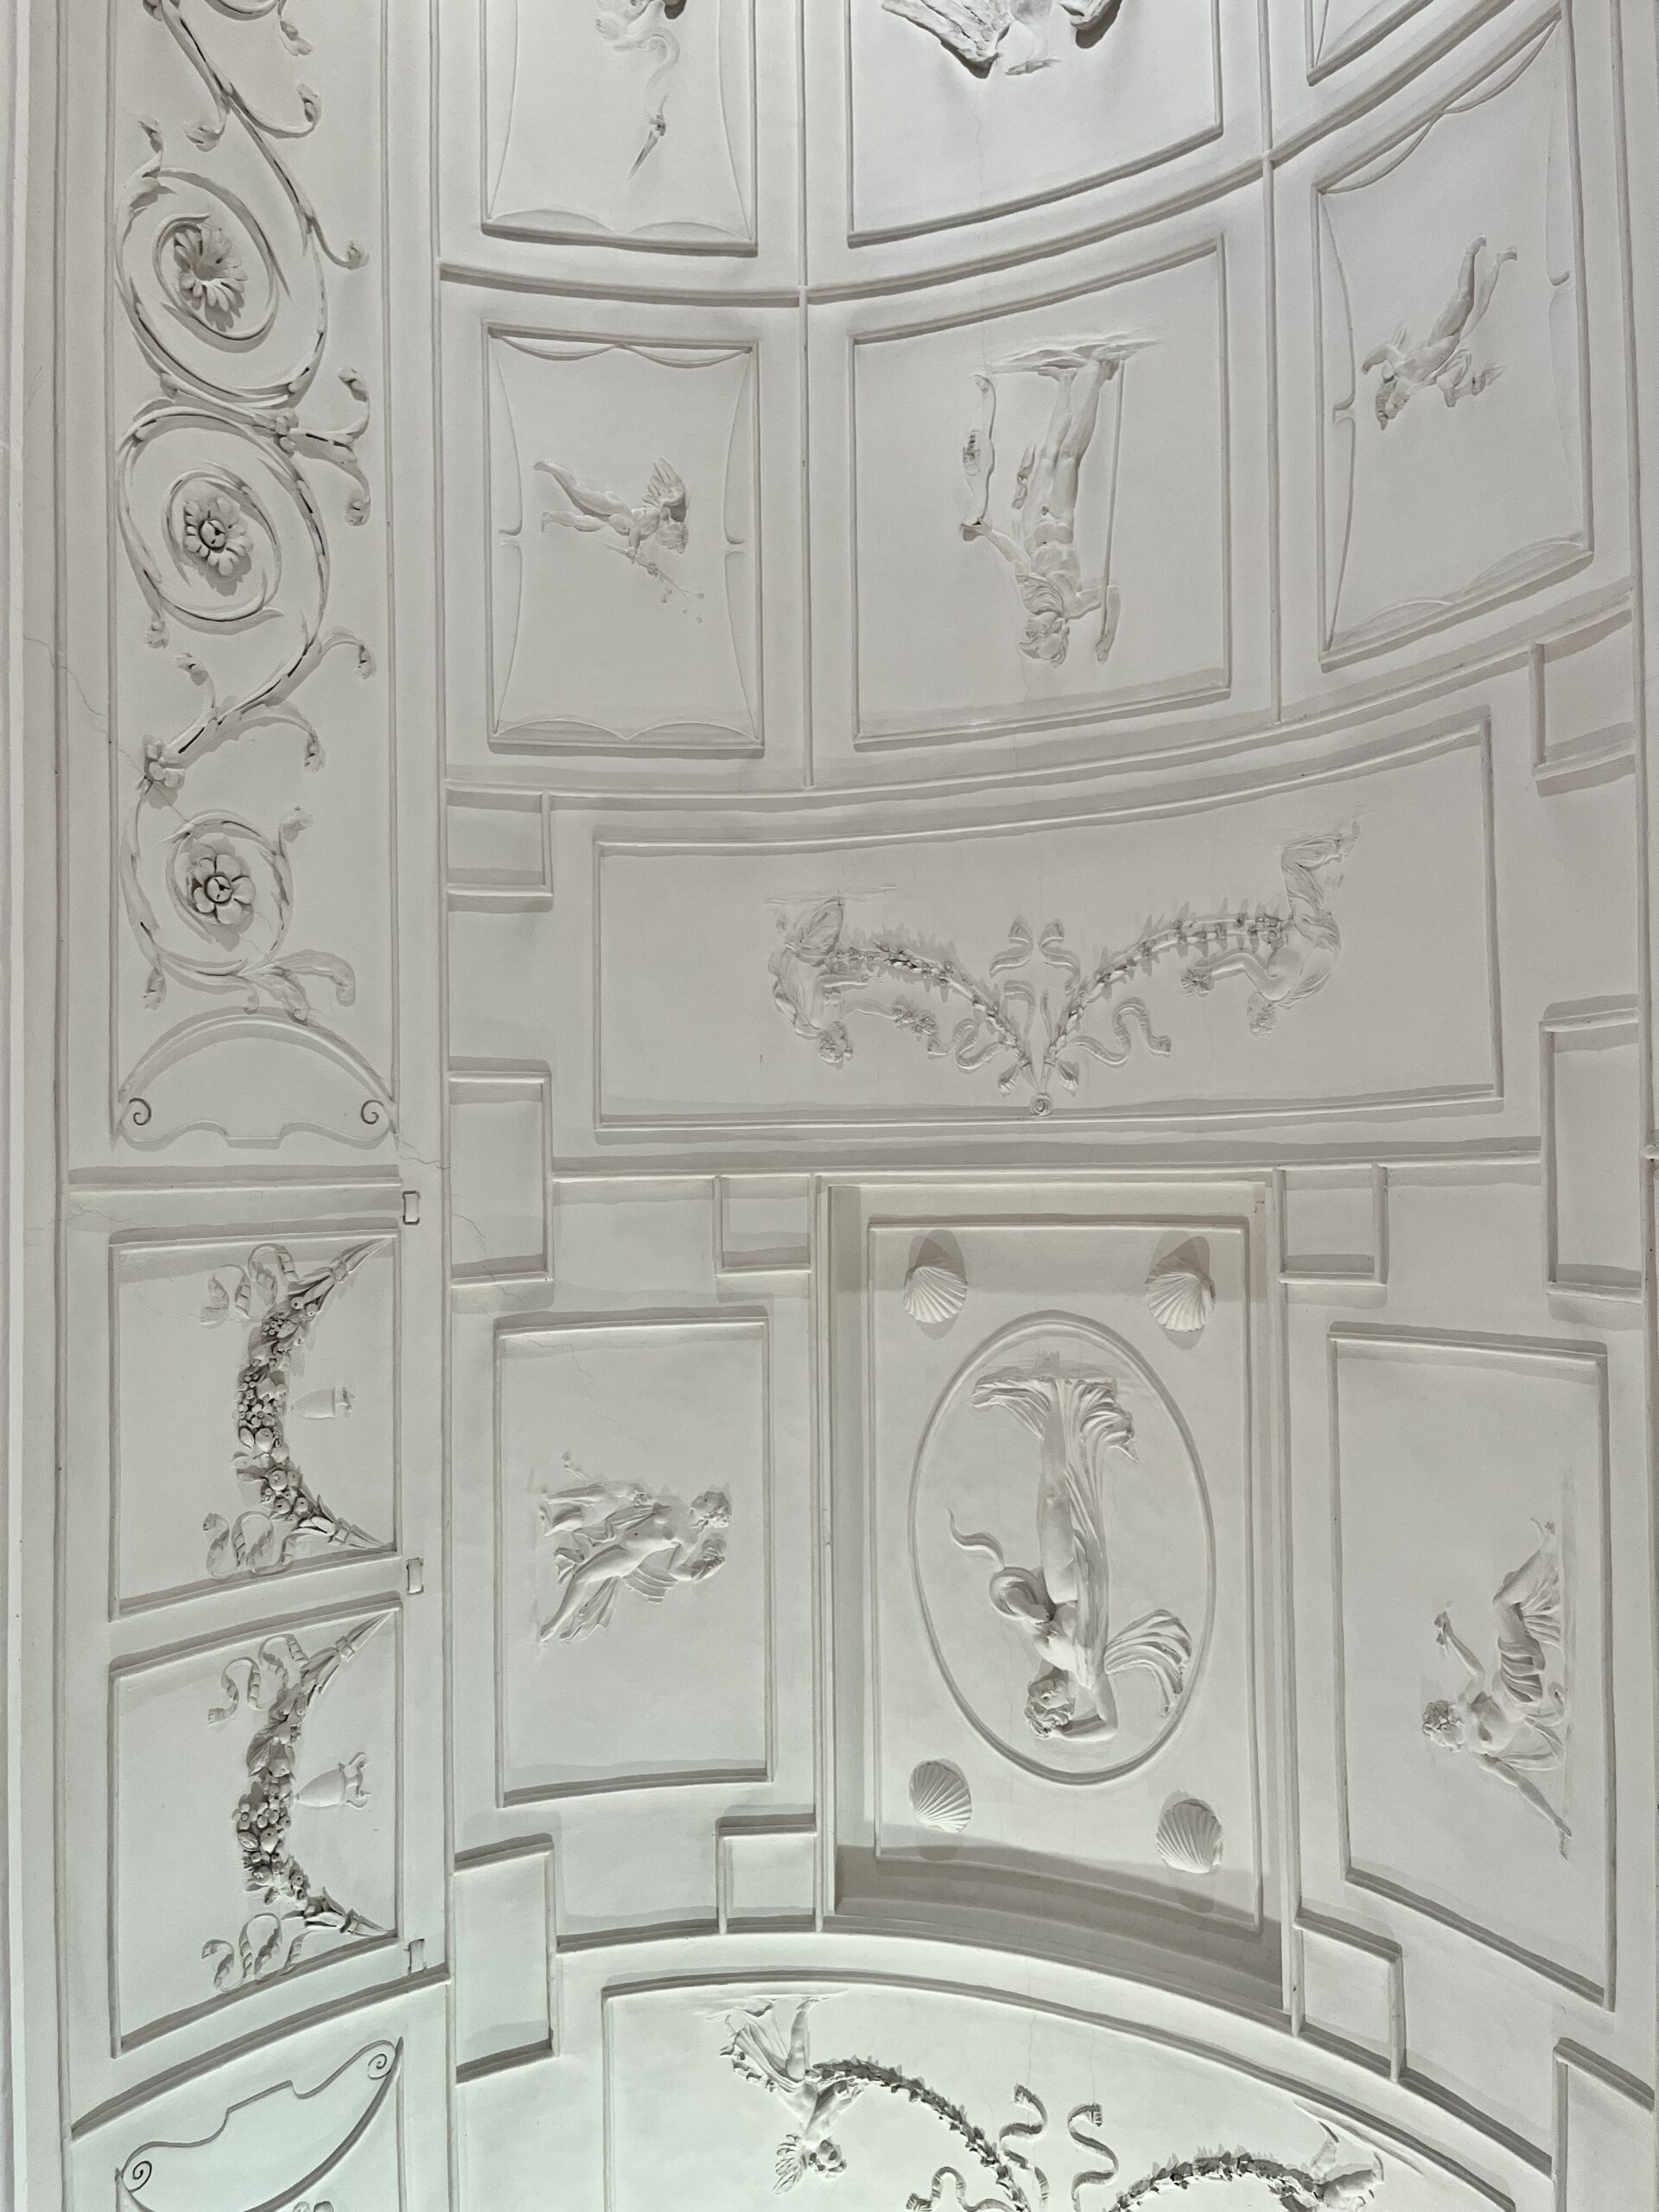
Stucco vs. Plasterwork: Discover the differences between these two decorative techniques. The term "stucco" often evokes images of luxurious finishes that mimic the effect of marble, but this is just the beginning of a vast array of forms and decorations offered by this technique. In this article, we will clarify any doubts about stucco, explaining the various techniques and applications of this material from antiquity to modern times.
Additionally, you'll learn how to create unique plasterwork profiles and molded ornaments. We’ll delve into the history of stucco and its evolution, examining both traditional artisan methods and contemporary industrial innovations.
Stucco vs. Plasterwork: How Are They Made? - From This Article, You’ll Learn:
- The Difference Between Stucco and Plasterwork
- The History of Stucco
- Types of Stucco
- Materials for Making Stucco
- How to Create a Pulled Profile for a Facade
- How to Make Plasterwork
- How to Make a Pulled Ornament
The Difference Between Stucco and Plasterwork
The term stucco refers to a thin-layer decorative plaster. Perhaps the best way to describe stucco is as an artificial marble. Sometimes, this term is mistakenly used to describe decorative elements made from gypsum, commonly known as plasterwork. However, the concept of stucco encompasses much more.
Stucco includes all types of plaster finishes that mimic the effect of marble—whether multicolored or monochrome, chemically varied, or carefully crafted to imitate other types of stone. In colloquial usage, "stucco" can also refer to reliefs, columns, architectural elements, and wall decorations created from thin-layer decorative plaster. This definition extends to architectural elements on building exteriors, which, through specific techniques and the use of white cement, achieve the appearance of genuine marble. The broad scope of the term "stucco" can sometimes lead to confusion, making it worthwhile to explore the diverse decorative techniques it encompasses.
There are numerous methods for creating stucco, ranging from traditional artisan techniques to modern approaches that utilize industrially manufactured materials.
In short, stucco is a refined finish with an extremely fine texture that, after full curing and proper treatment, becomes hard, smooth, and glossy, resembling polished stone. Stucco is often designed to imitate the texture of marble, which is why it’s commonly referred to as artificial marble. (See: Plasterwork by Zbigniew Wolski, Educational and Pedagogical Publishing House, Warsaw, 1988)
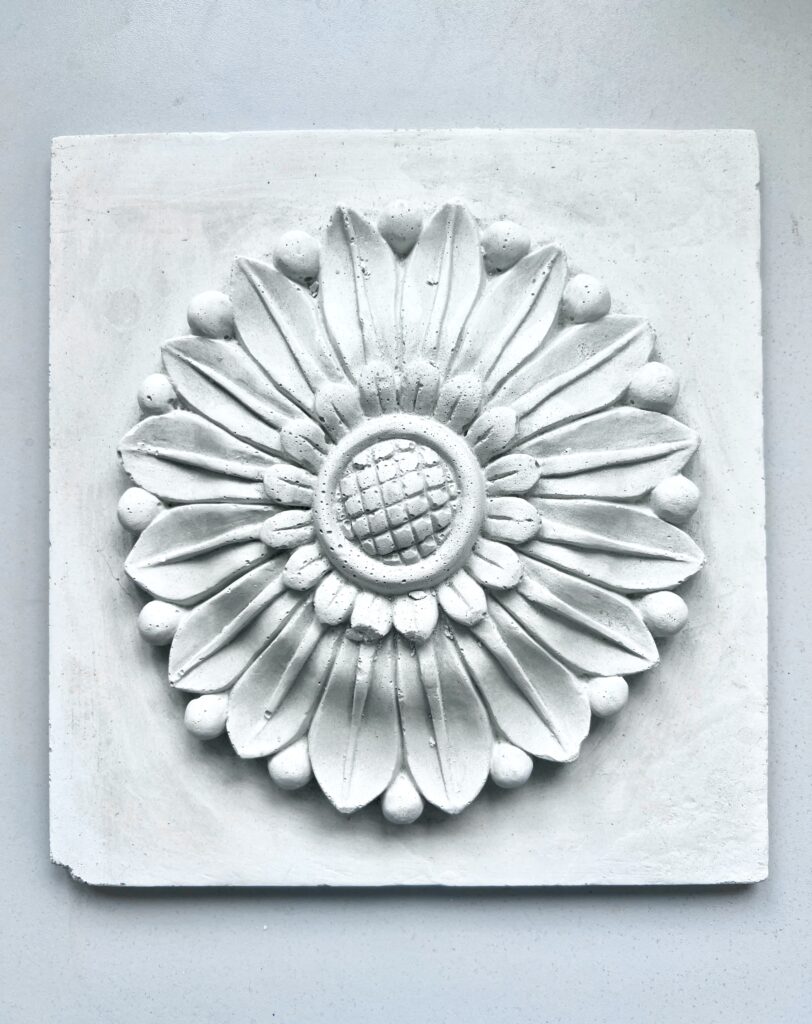
The History of Stucco
The history of stucco illustrates its versatility and enduring appeal as a decorative and architectural material through the ages.
Stucco as a Sculptural Material
In times when building materials were costly or scarce, stucco emerged as a practical alternative to traditional sculptural materials like marble or wood. Its flexibility and ease of application made it a popular choice in sculptural art.
Ancient Beginnings
Stucco has been in use since antiquity, with the earliest examples dating back to the 16th century BCE. At that time, it was primarily used to smooth the surfaces of stone structures, such as those in Crete. Gypsum-based stucco was also utilized for wall decorations and reliefs.
The Renaissance
During the Renaissance (15th and 16th centuries), classical antiquity became a major source of inspiration. Stucco architectural elements were reintroduced to reflect classical styles. It was also during this period that stucco began to be used for marbleizing columns and other architectural components, creating effects that closely resembled natural marble.
Baroque and Rococo
The Baroque period (17th and 18th centuries) was marked by rich and extravagant decoration. Stucco became a favored material for adorning interiors and building facades, enabling intricate designs and ornamental flourishes.
Classicism and Neo-Styles
The Classicism period (18th to early 19th centuries) brought a revival of ancient art and architecture. Stucco played a pivotal role in both interior and exterior decoration. Designers and architects aimed to replicate classical forms and patterns, incorporating stucco columns, friezes, capitals, and other architectural elements into their buildings, giving them an elegant and timeless appearance.
- Stucco in Neo-Styles: In the 19th and 20th centuries, architectural movements such as Neoclassicism, Neo-Gothic, and Neo-Renaissance continued the tradition of stucco use. Stucco decorations were often employed in the restoration or recreation of historical styles.
Modern Applications of Stucco
Today, stucco remains a prominent material in architecture and interior design. It is used both to recreate historical styles and to craft modern designs. Applications include decorative facades, ceiling medallions, and various ornamental details.
Stucco’s adaptability ensures it continues to be a material of choice for architects and designers, blending traditional craftsmanship with contemporary aesthetics.
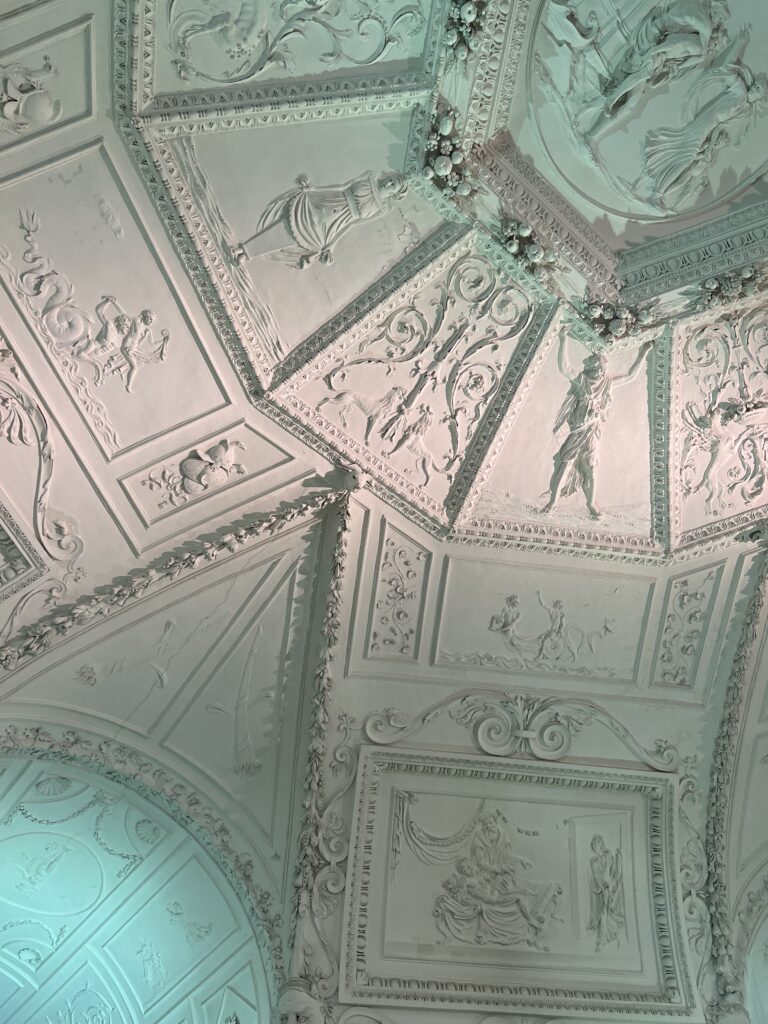
Types of Stucco
Stucco can be categorized based on materials, techniques, and forms. The term "stucco" is broad and includes various elements, such as flat, light-reflecting wall decorations, realistic marble imitations, as well as relief and sculpted components. In this article, we propose a division into traditional and modern techniques—traditional ones requiring specialized knowledge, craftsmanship, and experience, and modern ones, which can be performed with less expertise using readily available materials.
Materials for Making Stucco
KOMBI STUCCO: Fast-Setting Mortar for Decorative Molds
KOMBI STUCCO is a specialized mortar designed for creating small decorative molds. Its quick setting time allows demolding within 1.5–2 hours. The mortar is suitable for both indoor and outdoor use.
Product Features of KOMBI STUCCO:
- Not suitable for parts with large thickness variations.
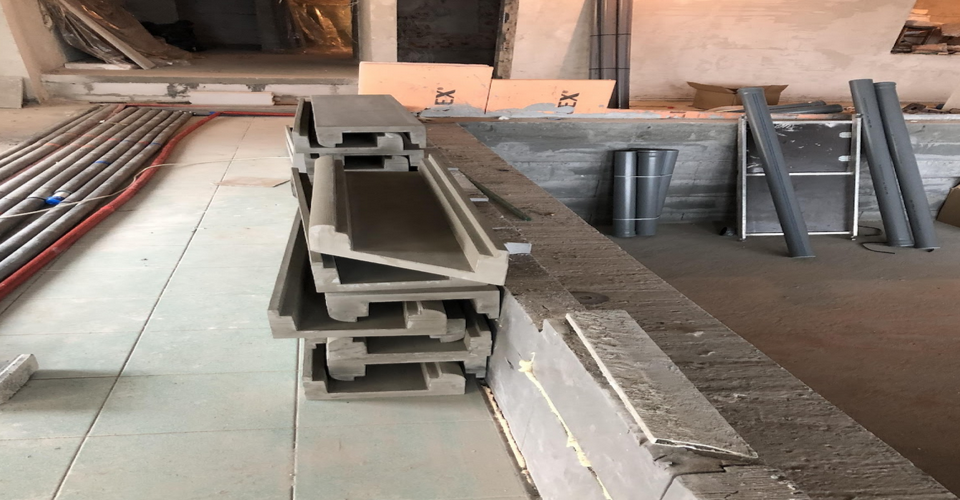
- Not recommended for decorative work on insulation systems; profiles made of polystyrene are advised in such cases.
- Contains no components that cause chloride corrosion.
- For large molds or significant thickness changes, reinforcement with steel rods is recommended.
- Fast-setting, reducing work time.
- Hydrophobic, offering water resistance.
- Easy to apply and process.
- Reinforced with microfibers, minimizing shrinkage and stress during drying.
Instructions for Using KOMBI STUCCO:
Surface Preparation:
- Inspect the Substrate: Ensure the surface is load-bearing, stable, even, dry, and free from biological or chemical stains or efflorescence.
- Treat Biological Growth: Use ALGIZID for algae or mold removal.
- Clean Dirty Surfaces: Wash and degrease with water and CLEANFORCE.
- Remove Loose Layers: Eliminate dust, loose plasters, or flaking paint.
- Level Uneven Surfaces: Use leveling mortar if necessary.
- Prime Absorbent Surfaces: Apply BUDOGRUNT ZG/WG primer. Optimal curing time is approximately 3 hours under standard conditions (+20°C and 55% humidity).
Preparing and Applying the Mortar:
- Gradually add the mortar to 8 liters of clean, cold water per 25 kg of the product.
- Mix thoroughly using a slow-speed mixer until a lump-free, homogenous mass is achieved.
- Pour the prepared mixture into the mold immediately.
- Avoid over-mixing, which can introduce excessive air, reducing the strength of the mortar.
- Use only as much material as can be applied within 5–10 minutes.
- To remove air bubbles, lightly tap or vibrate the mold.
- Demold after 1.5–2 hours to allow the cast to dry evenly.
Post-Processing:
- Do not accelerate drying by exposing it to direct sunlight or wind.
- Additional mechanical fixing to the substrate is recommended for profiles.
- Clean tools with warm water immediately after work.
- Allow the cast to cure before painting, following a rule of 1 day of drying per 1 mm of thickness (at +20°C and 65% relative humidity).
Painting Recommendations:
Once fully cured, apply a highly breathable paint finish, such as CALSILIT F, NOVALIT F, or ARMASIL F, to the cast. These paints provide durable and aesthetic finishes, enhancing the longevity of the stucco.
How to Make Plasterwork
How to Create a Pulled Profile for a Facade
KOMBI STONE – Coarse-Grained Stucco Mortar for Creating Pulled Profiles on Facades
KOMBI STONE is a thick, fast-setting mortar perfect for creating pulled profiles, cornices, rustications, and grooves on building facades. It can be used both indoors and outdoors.
Key Features of KOMBI STONE
- Not Suitable for Insulated Systems: For decorative work on insulation systems, styrofoam profiles are recommended.
- Free from Chloride-Induced Corrosion: Ensures material longevity.
- Fast-Setting: Speeds up the application process.
- Hydrophobic: Provides moisture resistance.
- Easy Application and Processing: Allows precise and efficient work.
- Reinforced with Microfibers: Minimizes shrinkage and stress during drying.
How to Use KOMBI STONE
Surface Preparation
- Technical Inspection: Ensure the substrate is stable, clean, and free from contaminants such as biological or chemical stains.
- Remove Contaminants: For algae or mold, use ALGIZID. Clean the surface with CLEANFORCE for grease or dirt removal.
- Repair Uneven Surfaces: Fill significant irregularities with leveling mortar.
- Prime Absorbent Surfaces: Use BUDOGRUNT ZG/WG primer and let it cure for about 3 hours under optimal conditions (+20°C, 55% relative humidity).
Mixing and Application
- Mixing Mortar:
- Add approximately 5 liters of cold, clean water per 25 kg of mortar.
- Gradually mix using a low-speed mixer until smooth and lump-free.
- Avoid over-mixing to prevent air entrapment, which can weaken the material.
- Application:
- Apply a contact layer first.
- Depending on the profile's thickness, apply one or more layers and finish with a thin coat of mortar.
- Wait for each layer to cure before adding the next.
- For thicker or longer profiles, reinforce the structure with additional reinforcements, such as steel bars.
Execution Tips
- Weather Conditions: Apply only in dry weather at air and substrate temperatures between +5°C and +30°C.
- Avoid Direct Sunlight and Strong Winds: Protect the applied mortar with scaffolding nets or tarps.
- Slope Design: Shape the profile to facilitate water runoff.
Curing and Finishing
- Drying Time:
- Allow 1 day of drying per millimeter of profile thickness at +20°C and 65% relative humidity.
- Avoid accelerating drying by exposing the profile to direct sunlight or wind.
- Painting:
- Use a highly breathable paint such as CALSILIT F, NOVALIT F, or ARMASIL F for the finishing coat.


