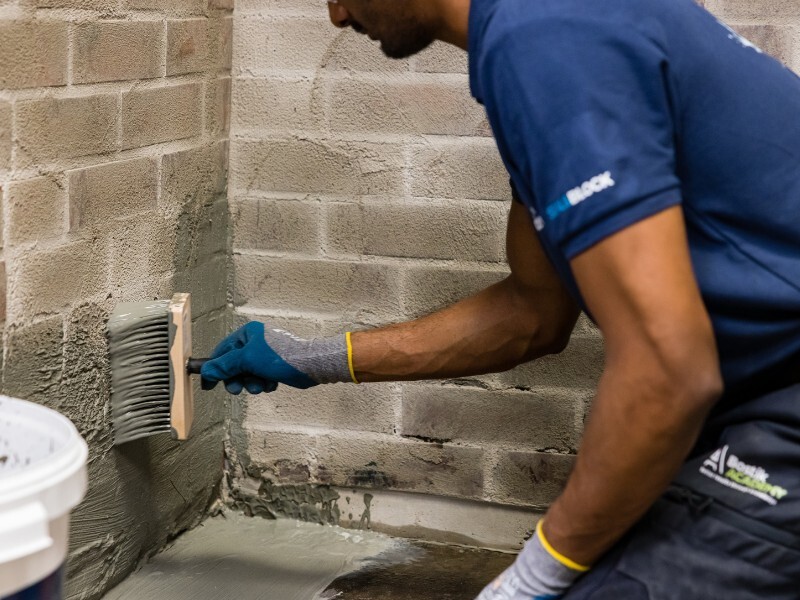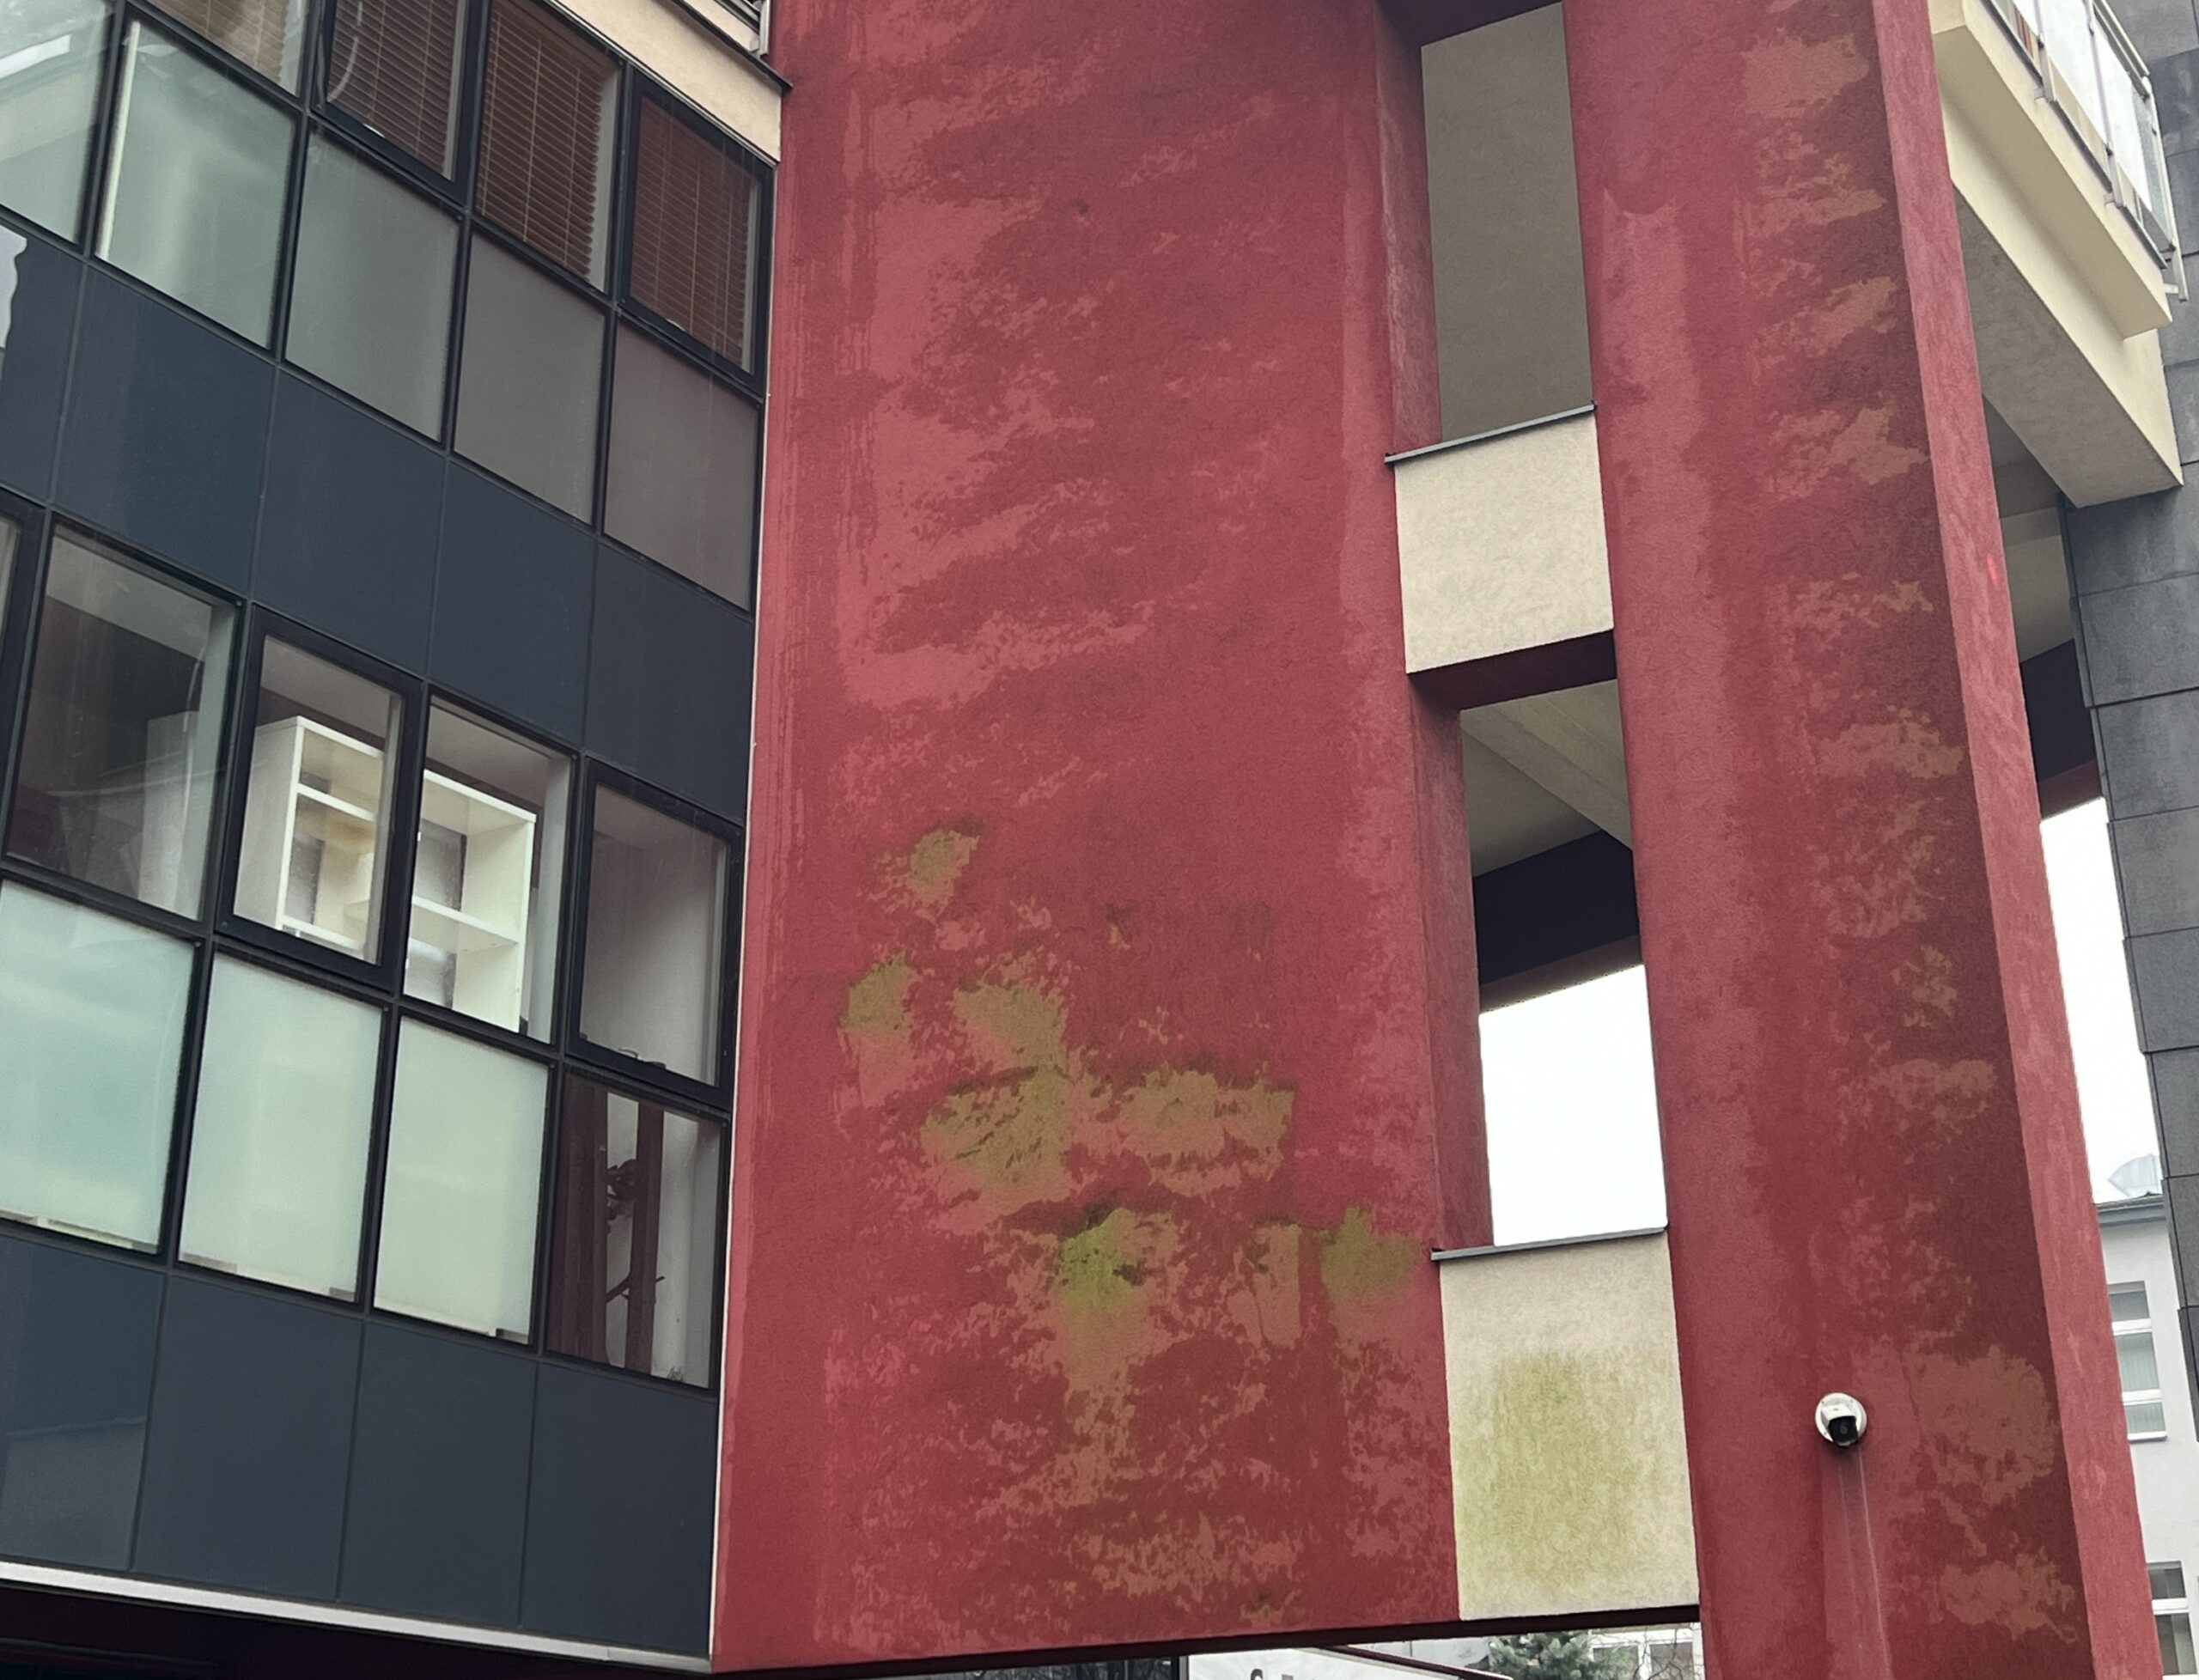
Damp Facade: Why Do Mold and Algae Appear on Facades?
marzec 6, 2024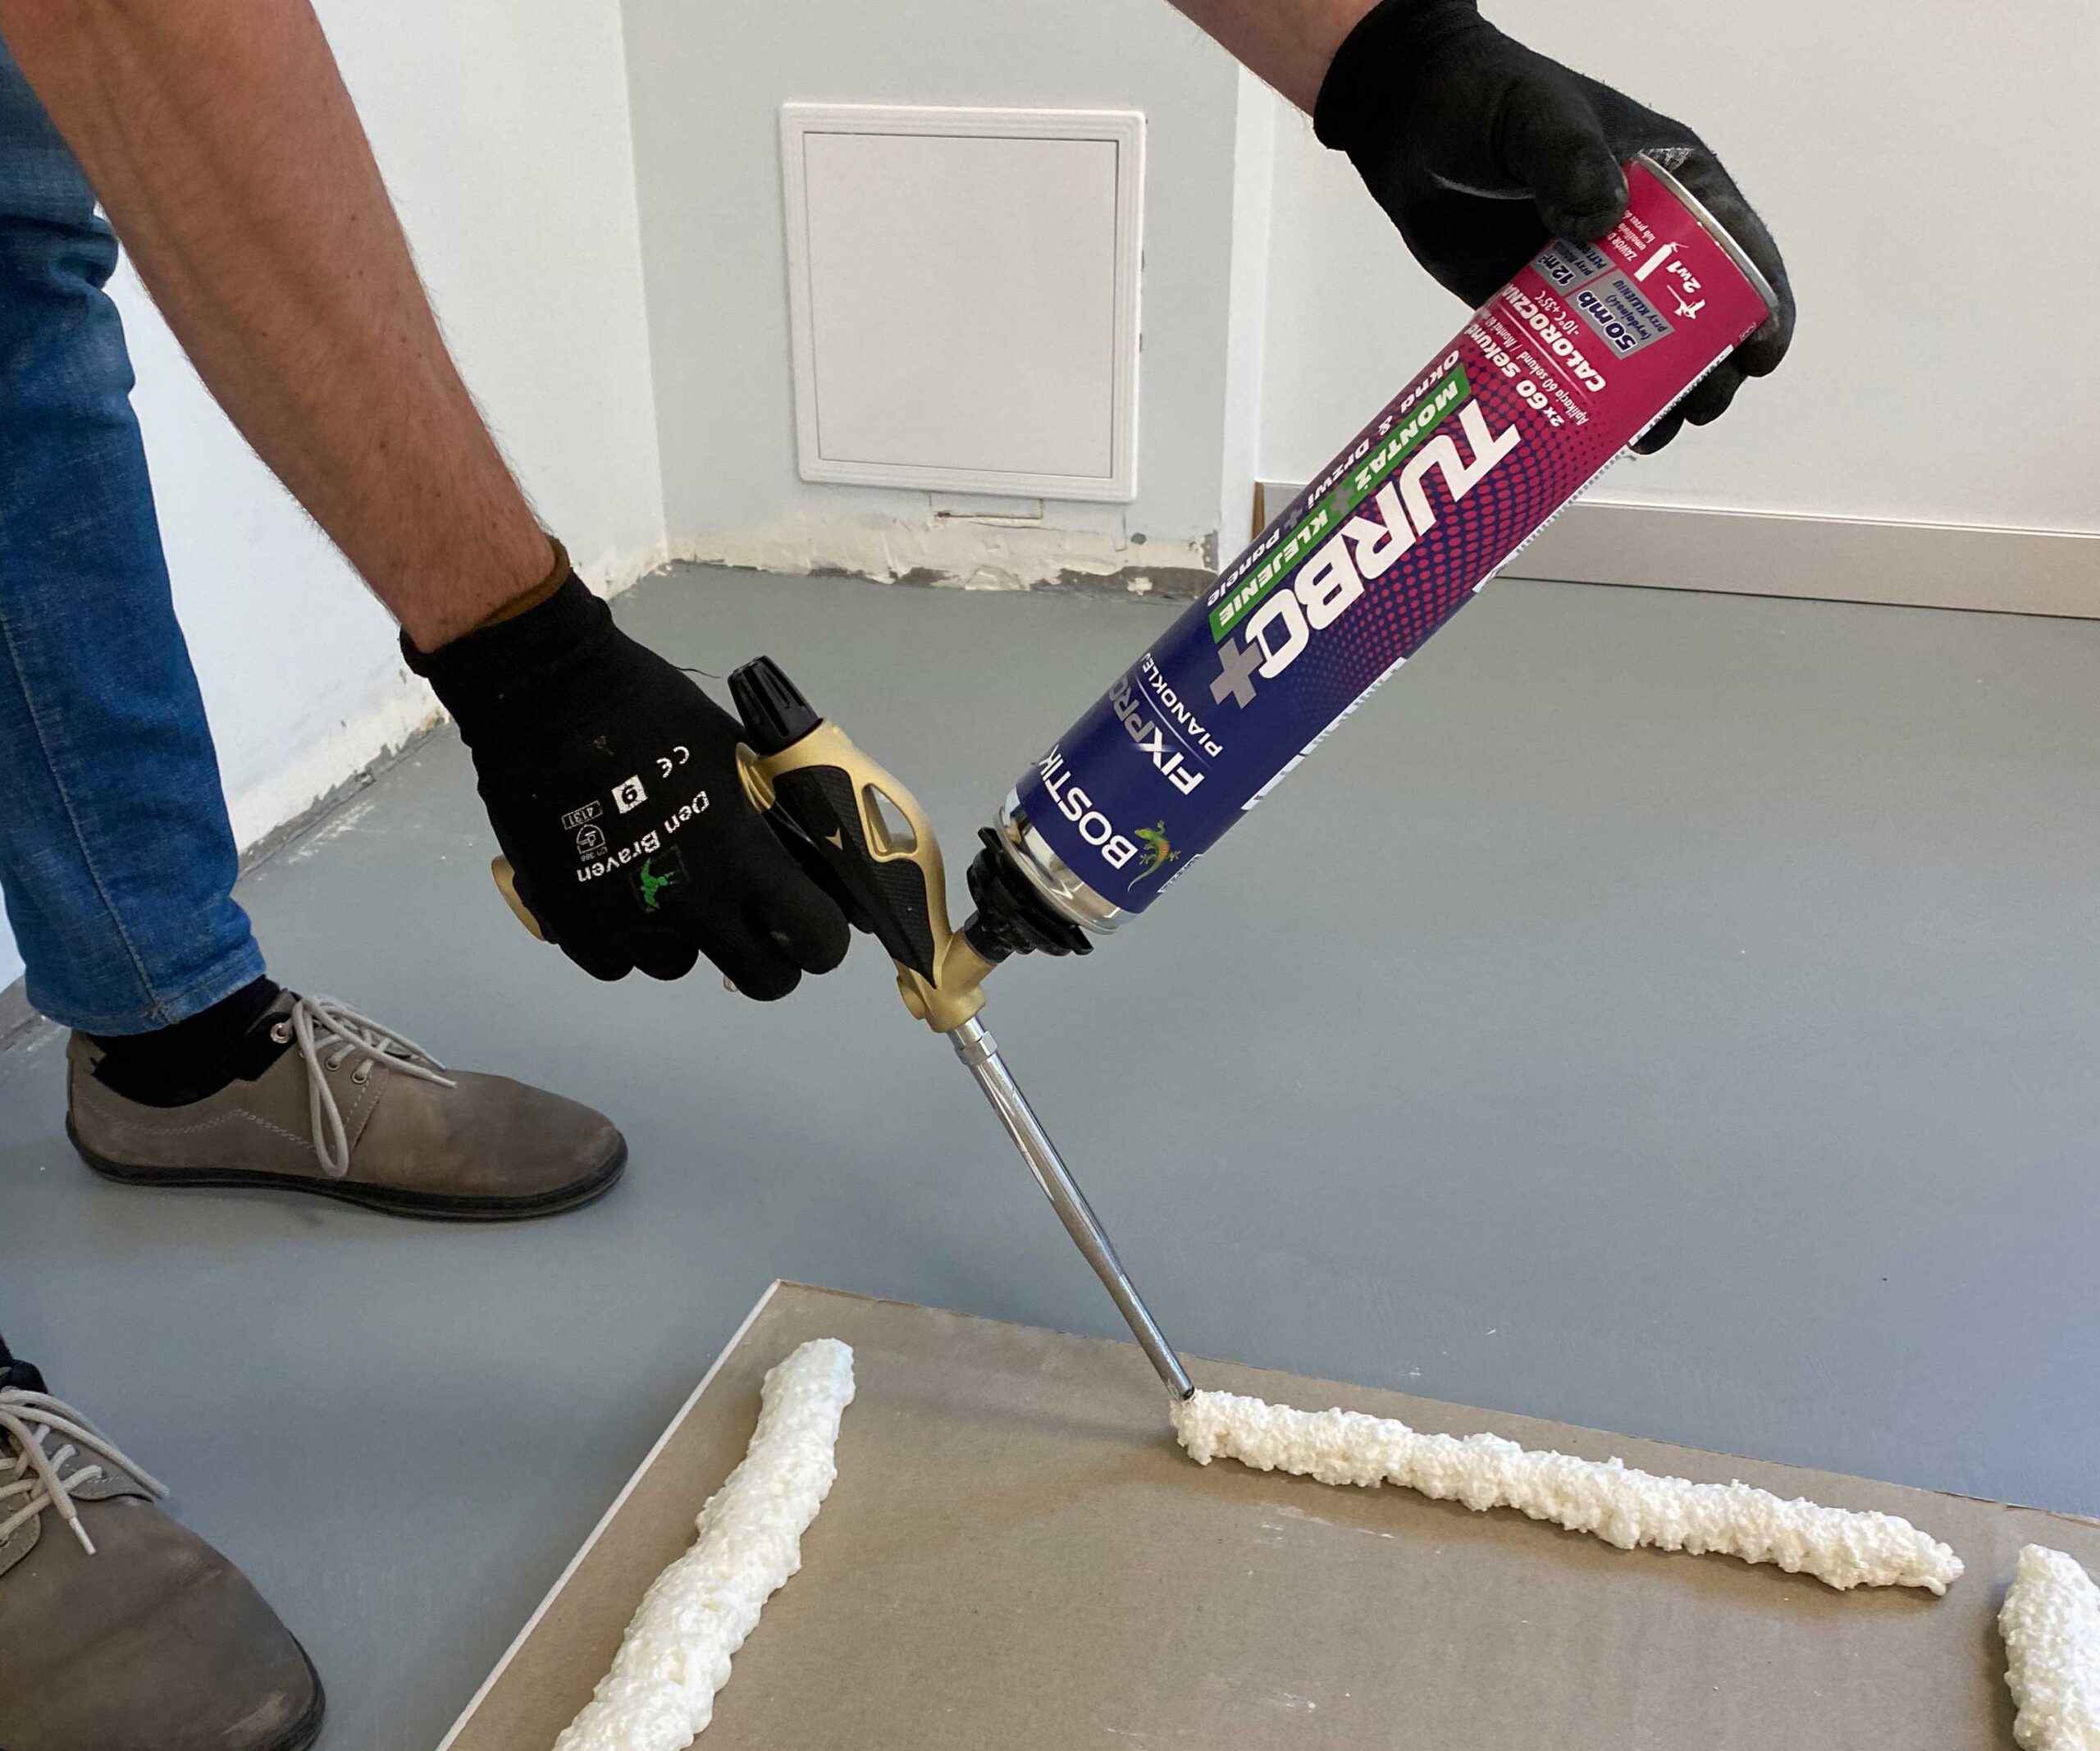
What Is Foam Adhesive and How to Use It? Application of BOSTIK FIXPRO TURBO+
kwiecień 16, 2024How to Install Resitrix SKW Membrane?
Resitrix SKW Full Bound
What Is an EPDM Membrane?
EPDM membrane is a synthetic rubber with specific additives that has undergone vulcanization. EPDM waterproofing membranes are completely watertight and have a lifespan measured in decades. They are highly elastic, with elongation properties of around 500%, enabling them to accommodate building movements without cracking. They are resistant to UV radiation, ozone, and most chemical compounds.
EPDM membranes are particularly well-suited to various climates due to their resistance to extreme high and low temperatures. These products are available in different thicknesses and variants (e.g., reinforced types). EPDM membrane installation can be carried out using various methods, including mechanical fastening, adhesive bonding, or ballast, depending on the type of membrane selected.
What Is RESITRIX SKW Full Bond?
RESITRIX SKW Full Bond is a self-adhesive EPDM waterproofing membrane. It is resistant to bitumen and can be hot-air welded. This product is based on synthetic rubber (EPDM) and reinforced with a glass fiber insert. The underside features a self-adhesive layer made of polymer-modified bitumen, which is protected by a removable protective film.
The product can be applied directly to FG 35 or FG 40 primers or, in some cases, without priming (e.g., on fresh, uncoated bituminous substrates). It can also be installed loosely, without priming, using mechanical fastening and additional mounting clips.
Features of RESITRIX SKW Full Bond
- Self-Adhesive: The membrane adheres directly to primed surfaces or specific uncoated substrates.
- Hot-Air Weldable: Ensures secure, seamless joins for effective waterproofing.
- Reinforced Design: Equipped with a glass fiber insert for improved strength and durability.
- Wide Temperature Resistance: Suitable for a range of climatic conditions, from high heat to extreme cold.
- Chemical Resistance: Resilient against UV radiation, ozone, and various aggressive chemicals.
Advantages of RESITRIX SKW Full Bond
- Durability: Long service life, resistant to aging and environmental influences.
- Elasticity: Withstands building movements without cracking or losing adhesion.
- Ease of Use: The self-adhesive properties simplify installation, while the protective film prevents premature adhesion.
- Versatile Applications: Suitable for roofing, waterproofing, and sealing projects.
Features of Resitrix SKW Full Bond
- Permanently Elastic: Lifespan measured in decades.
- Free from Plasticizers and Chlorine: Ensures environmental safety and product stability.
- UV and Ozone Resistance: Resistant to UV (ultraviolet) and infrared radiation without additional surface protection.
- Weather and Aging Resistant: Highly durable against atmospheric influences, aging, numerous chemicals, and environmental pollution.
- Compatible with Bituminous Materials: Can be used in conjunction with bitumen-based products.
- Anti-Slip Properties: Maintains anti-slip functionality in both dry and wet conditions and is walkable in temperatures as low as -30°C.
- No Shrinkage: Maintains dimensional stability throughout its entire service life.
- Recyclable: Environmentally friendly and suitable for recycling.
- DIN Classification: Classified according to DIN 20000-201: DE/E1 EPDM-BV-v-GG-3,1-PBS.
- European Certification: Holds European Technical Approval (ETA-06/0174).
Applications of Resitrix SKW Full Bond EPDM Membrane
EPDM is not just a waterproofing solution for flat and green roofs. It is also an excellent material for waterproofing balconies, terraces, and underground parts of buildings.
Regardless of its application—whether as a roof covering, terrace insulation, or part of green roof systems—EPDM membranes retain their properties even after several decades.
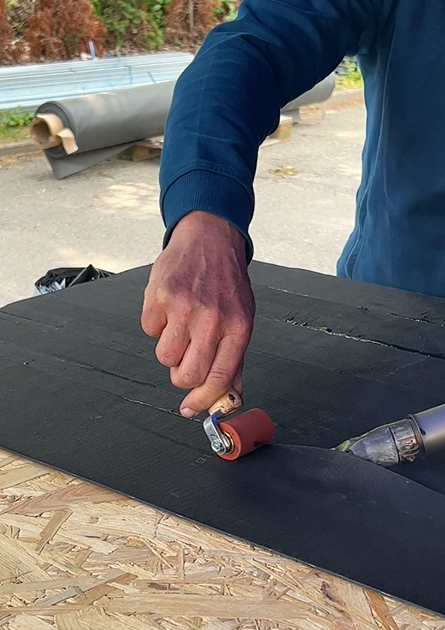
RESITRIX SK W FULL BOND FULL-SURFACE SELF-ADHESIVE
RESITRIX SKW Full Bond is a full-surface, self-adhesive EPDM waterproofing membrane with FLL certification and compliance with DIN EN 13948 standards. It is designed to be hot-air welded and features root penetration resistance, making it a reliable solution for diverse waterproofing applications.
Key Characteristics:
- Full-Surface Adhesion: Ensures complete bonding to the substrate for maximum waterproofing effectiveness.
- FLL Certified: Meets the highest standards for green roofs, ensuring compatibility with vegetation and soil.
- Hot-Air Weldable: The seams can be securely welded using hot air, providing a durable, seamless finish.
- Root Penetration Resistance: Specifically engineered to resist root penetration, making it ideal for green roofs and gardens.
- Versatile Application: Can be installed on various substrates, offering flexibility for a wide range of construction and renovation projects.
Applications:
- Green Roofs and Gardens: Perfectly suited for fully adhered systems under vegetation and soil.
- Waterproofing Systems: Effective for flat roofs, terraces, and other structures requiring robust waterproofing solutions.
Primers for the membrane EPDM RESITRIX SKW
Primer FG 35 is a primer specifically designed for use with self-adhesive RESITRIX waterproofing membranes on a variety of substrates. It enhances adhesion and ensures a durable bond between the membrane and the surface.
Key Features:
- Versatile Application: Suitable for uncoated metal, plastics, wood-based materials, insulation materials, and bituminous surfaces.
- Enhanced Adhesion: Provides a strong bond for RESITRIX self-adhesive membranes, ensuring long-term performance.
- Rubber and Resin-Based Formula: Contains synthetic rubber and resin-based solvents for optimal performance and compatibility.
Applications:
- Substrate Preparation: Essential for preparing surfaces prior to the application of RESITRIX membranes.
- Wide Compatibility: Can be used on a broad range of materials, making it ideal for various waterproofing projects.
Primer FG 40 - On Order
Primer FG 40
Primer FG 40 is specifically formulated for use with self-adhesive RESITRIX membranes on EPS boards, such as type DAA-dm or DAA-do.
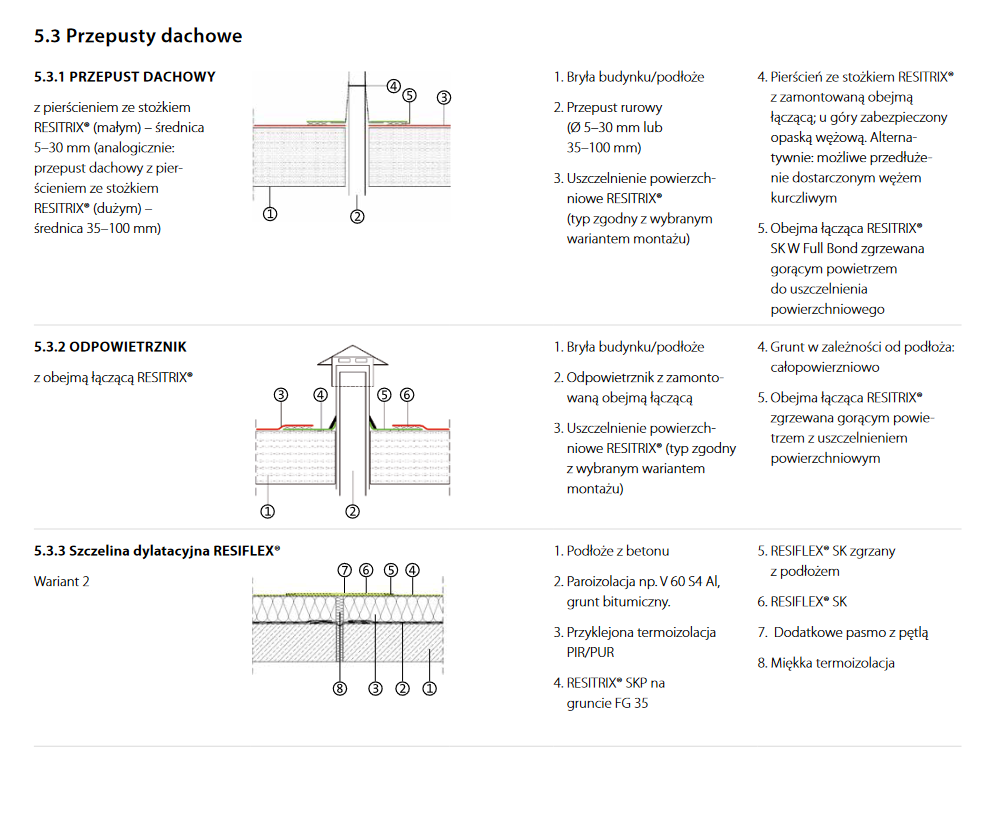
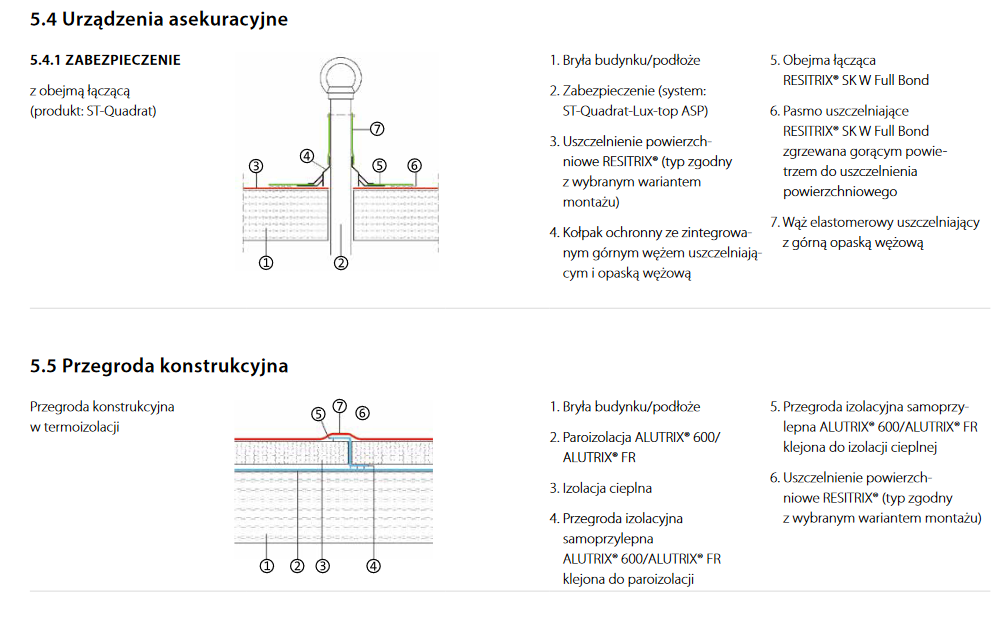
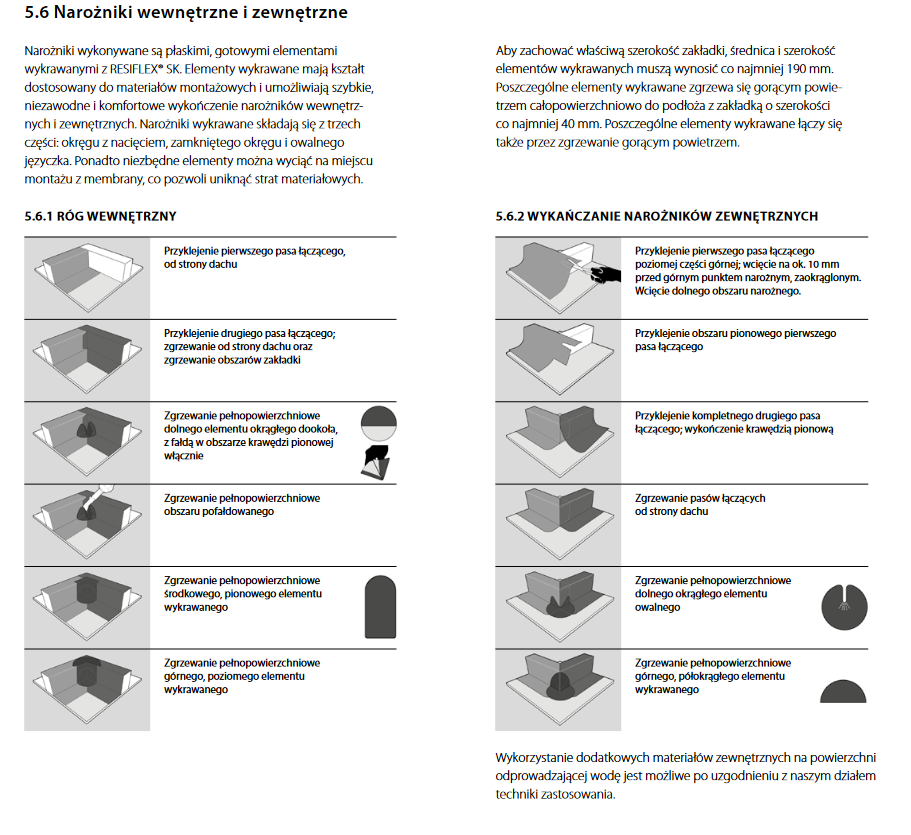
Accessories for Detail Finishing
Available upon request:
- Corner fittings: Ensure precise corner finishing.
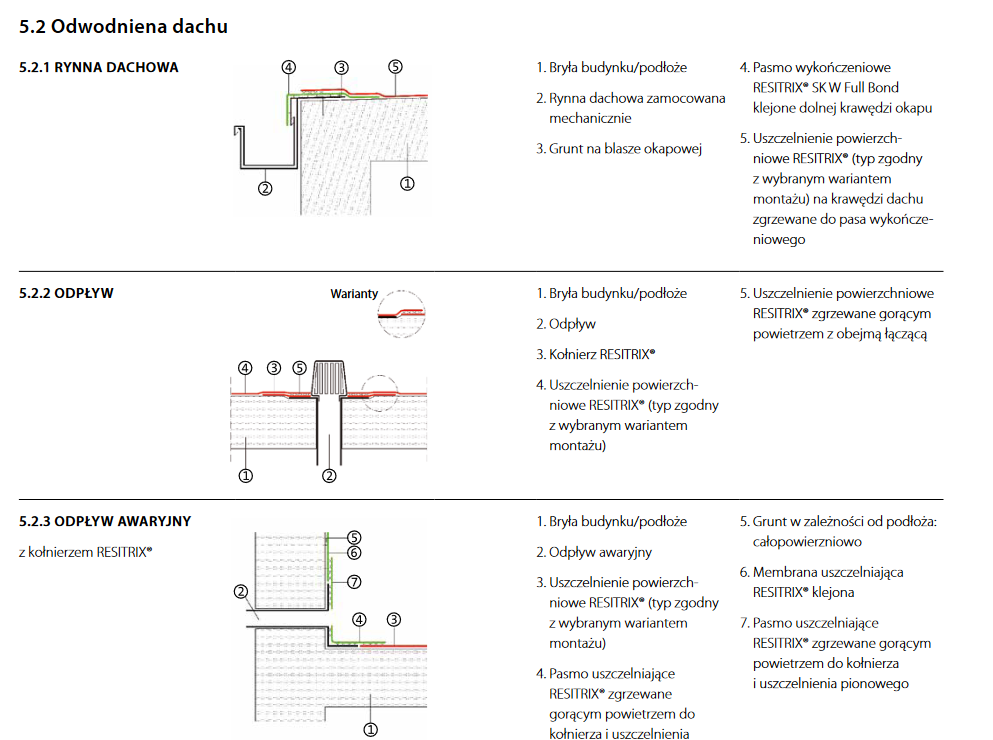
- Sealing collar: Ideal for sealing joints and pipe penetrations.
- Garden attachment: Facilitates membrane installation on green roofs.
What Tools Do You Need for Welding EPDM Membranes?
For Welding:
- Handheld hot-air welder:
- Recommended nozzle width: 4 cm (e.g., Leister).
- Silicone pressure roller:
- Width: 40 mm.
- Wire brush:
- Used for cleaning the welder nozzle.
- Brass pressure roller:
- Width: 6 mm.
Other Tools:
- Scissors: For cutting membranes to size.
- Measuring tape: For accurate measurements.
- Utility knife: For precise trimming of membranes.
- Chalk: For marking cutting and welding lines.
- Chalk line: For drawing straight lines on large surfaces.
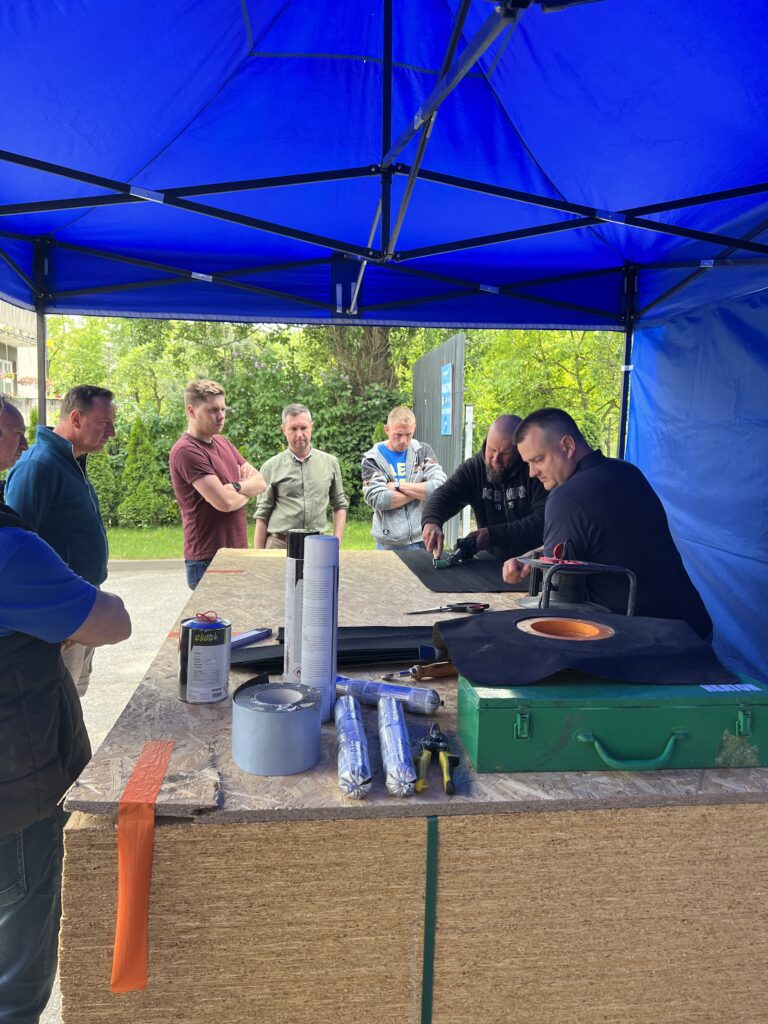
How to Install Resitrix SKW?
Resitrix SKW Full Bond requires the substrate to be pre-treated with a ventilation primer (FG 35 or FG 40). The membrane rolls should be unrolled in a way that creates proper overlaps (minimum 50 mm) and then aligned correctly.
Step-by-Step Installation:
- Preparation and Initial Adhesion:
- Peel off the PE protective film located on the underside of the membrane.
- To do this, flip back the initial meter of the membrane, make a cut, and remove the film.
- When adhering the membrane, avoid the formation of wrinkles. Attach the first meter of the membrane and press it down firmly, e.g., using a brush.
- Adhesion Check:
- At this stage, check if the materials have adhered properly. After ensuring the initial meter of the roll is securely attached and checked, proceed with unrolling the remaining length.
- Main Installation Process:
- This step requires two people:
- Person 1: Controls and adjusts the alignment of the membrane, ensuring proper overlaps are maintained.
- Person 2: Removes the underside protective film with a diagonal motion.
- This step requires two people:
- Final Pressing and Finishing:
- After completing the above steps, firmly press the membrane using a brush or pressure roller.
- Work in regular motions from the center outward to remove any air bubbles.
- Welding the Overlaps:
- Weld the overlaps between membrane strips. The overlap width should be at least 40 mm, using a nozzle of the same width for precise and efficient welding.
Important Notes:
- Ensure all steps are performed carefully to guarantee proper adhesion and durability.
- Follow the detailed installation instructions provided by the manufacturer.
- Always use appropriate tools and materials to achieve the best results.
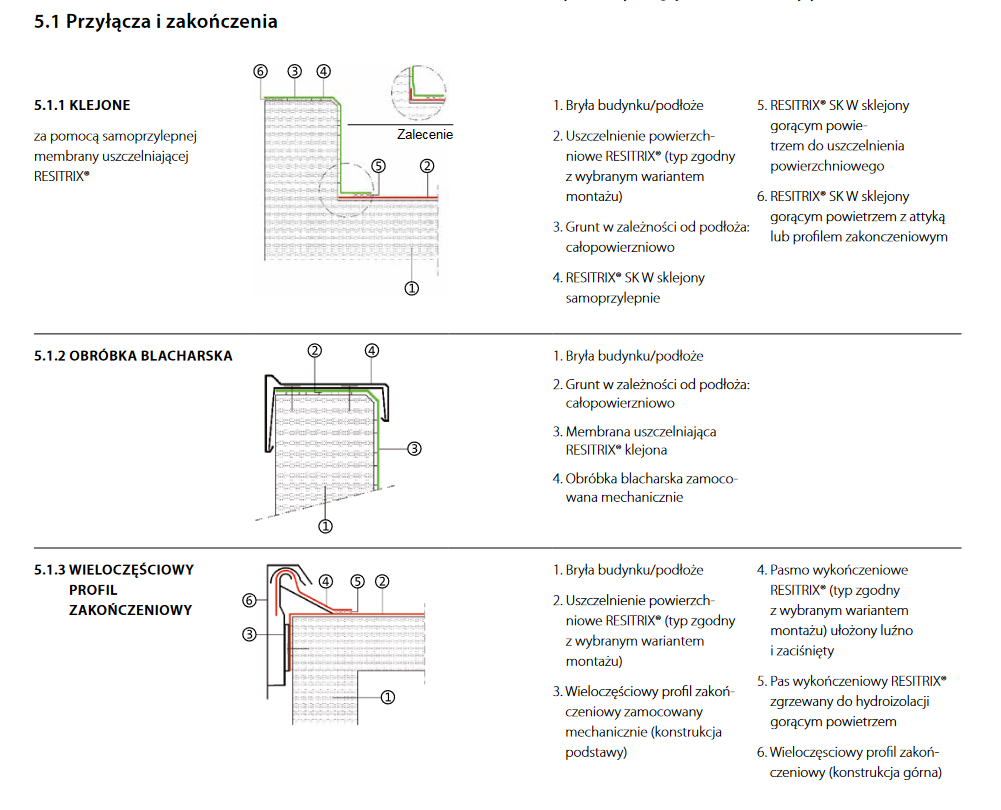
Executing Details – Resitrix SKW Full Bond
Preparation and Priming:
- Non-laminated EPS Substrate:
- Use FG 40 primer exclusively for detailing work.
- Apply the primer across the entire surface using a spray system.
- If the horizontal roof surface is primed with FG 40, this primer can also be used for detailing.
- FG 35 Primer:
- Used in most cases, it can be applied manually or by spraying.
- Remove the protective backing film from the underside of separate detailing strips on the roof.
- The protective film at the connection area with the horizontal roof surface should only be removed immediately before welding.
Application Process:
- Adhering the Detailing Strips:
- Press and roll the detailing strips evenly and firmly, ensuring full-surface adhesion.
- The length of the detailing strips depends on the size and construction of the elements to be sealed.
- Prevent Wrinkling:
- Ensure the dimensions of the detailing strips are adjusted to avoid the formation of wrinkles.
- The overlap on the horizontal surface should be approximately:
- 100 mm when using a handheld welder.
- 150 mm when using an automatic welder.
Welding Specifications:
- Width of Welds:
- Minimum 80 mm when using mechanical fastening.
- Minimum 40 mm for other applications.
Key Notes:
- Follow all instructions for proper adhesion and durability.
- Use appropriate primers (FG 35 or FG 40) based on substrate requirements and application methods.
- Ensure all welds meet the specified widths to maintain waterproofing integrity.
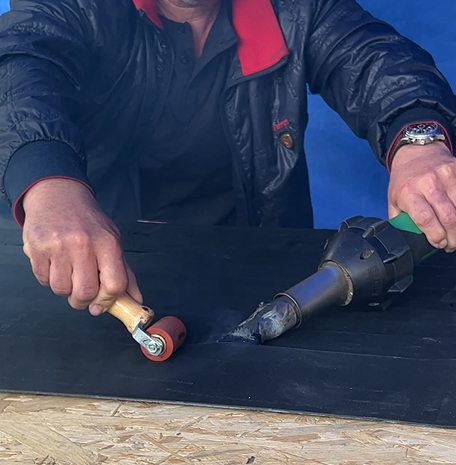
How to Weld Using a Handheld Welder?
Initial Preparation:
- Perform a Test Weld:
- Before beginning, conduct a trial weld to determine optimal parameters.
- Set the welding temperature between 500°C and 700°C, adjusting for environmental factors such as ambient conditions, wind strength, and substrate type.
- Positioning the Nozzle:
- Angle the welder nozzle at approximately 45 degrees relative to the surface being welded.
- Maintain a consistent gap of about 2 mm between the nozzle and the edge of the seam.
Welding Process:
- Roller Placement:
- Guide the roller parallel to the seam edge, ensuring steady pressure and consistent movement.
- Weld Quality Check:
- Proper execution will result in a bitumen bead extrusion along the seam edge, measuring 2–4 mm in width.
- Maintaining Distance:
- Keep a distance of 20 to 40 mm between the welder nozzle and the pressure roller during the process.
Special Attention for Non-Laminated EPS Foam:
- Pre-Welding Preparation:
- When working with non-laminated polystyrene foam (EPS), pay extra attention to insulating the weld area.
- Insert the welder nozzle under the overlap seam, maintaining a distance of 40–80 mm from the upper edge of the membrane.
- Distance Variance:
- The exact distance depends on the installation method used for the specific project.
Additional Resources:
- For precise instructions on handling detailing and welding techniques, consult the Installation Guide or the Product Technical Data Sheets.
