


How to Choose Waterproofing Materials for Walls and Foundations?
grudzień 14, 2022What can go wrong when insulating with traditional materials?
styczeń 23, 2023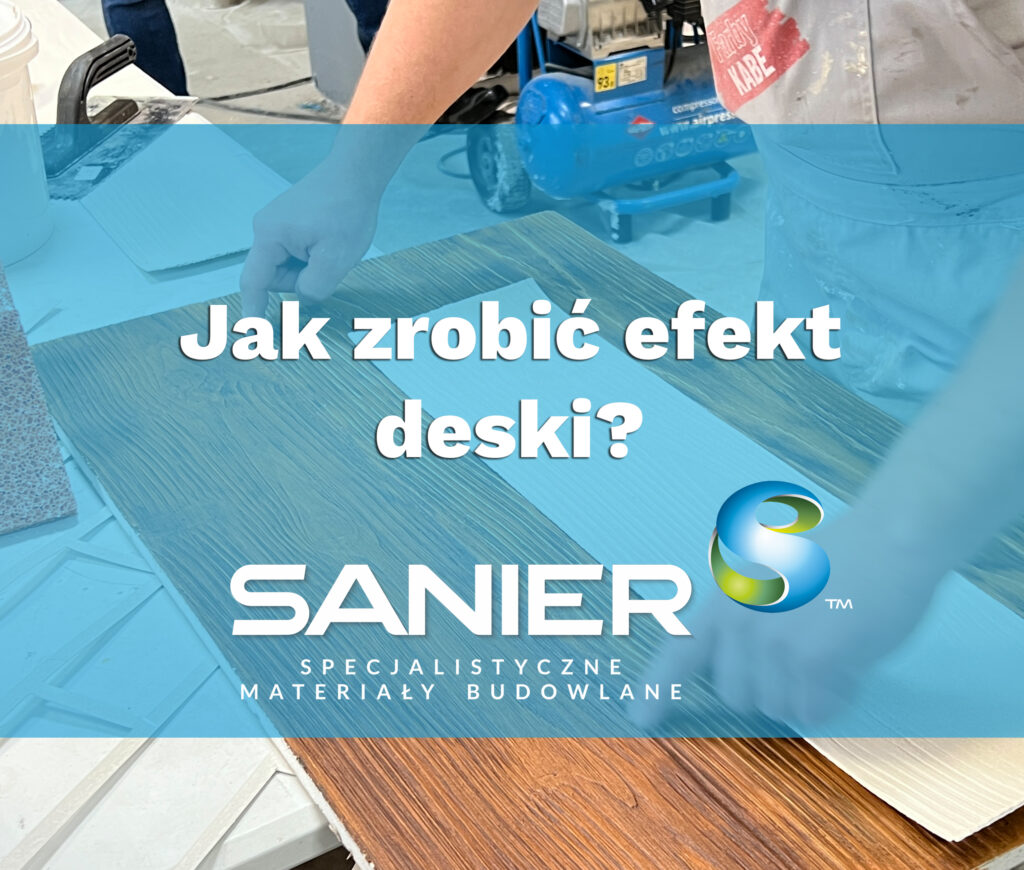
Wood Plank Effect
- What is the Wood Plank Effect?
- How to Create a Wood Plank Effect?
- How to Apply an Imprinted Wood Plank Effect?
- How to Apply an Adhered Wood Plank Effect?
- How to Quickly and Easily Transform an Interior?
- How to Create an Aged Wood Effect?
- Can Decorative Effects Be Applied Outdoors?
How to Quickly and Easily Transform an Interior?
If you dream of a Zakopane-style home, appreciate the beauty of Polish manor houses, or simply love boho and rustic aesthetics, we have a simple solution that will help you revamp your home’s appearance with ease.
Wood has been a highly valued material for years, often used as a decorative element for facades and interiors. However, wooden finishes come with high costs and maintenance requirements. Wood exposed to weather conditions deteriorates quickly, which is why alternative solutions are gaining popularity.
The wood plank effect, when painted, closely resembles natural wooden cladding but is more durable and requires no complicated maintenance. The possible applications of this decorative technique are limitless—only imagination sets the boundaries. You can create small wooden accents or cover an entire wall, both inside and outside the building.
What is the Wood Plank Effect?
The wood plank effect is a quick and simple way to transform interiors and facades. This original solution allows you to create a unique atmosphere using paints, claddings, and specialized coatings that replicate the appearance of natural wooden planks.
This clever alternative eliminates the maintenance challenges associated with wooden cladding while allowing for customized color selection.
With Farby KABE, you are not limited to standard color palettes—you can custom-mix shades to match your existing flooring, furniture, or decor. Simply bring a sample of the color (e.g., a piece of wood, furniture front) to find the perfect match.

How to Create a Wood Plank Effect?
Currently, there are two methods for achieving the wood plank effect:
- Imprinted Wood Plank Effect – using a silicone mold.
- Adhered Wood Plank Effect – requiring 2-3 people for application.
Both methods result in a similar visual effect, so the choice depends on personal preference and available resources.
How to Apply an Imprinted Wood Plank Effect?
Step 1: Prepare the Surface
- Prime the surface using Permuro GT.
- Apply Kombi Decor Print mass, following the manufacturer’s instructions on the packaging.
- Spread the mortar evenly using a 10 mm notched trowel to maintain a uniform thickness.
Step 2: Texture the Surface
- Lightly moisten the surface.
- Smooth it using a rubber float, ensuring the direction aligns with the desired plank orientation (horizontal or vertical).
Step 3: Apply the Mold
- Once the material is no longer sticky to the touch (has formed a thin skin), apply KABE DP2 release agent to the silicone mold.
- The release agent prevents adhesion, allowing clean impressions.
- Apply the mold to the prepared surface and press it in using a wallpaper roller.
Step 4: Create the Joints
There are two methods for defining the gaps between planks:
- Fresh Cutting Method:
- Use a roller tip to carve out the grooves immediately after imprinting.
- Dry Cutting Method:
- Leave the forms in place until the material dries.
- Using a spirit level and a Phillips screwdriver, scrape out the joints.
- This method allows for precise, clean joints and customization of their shape.
Step 5: Smoothing and Curing
- After the material fully sets, sand the surface to remove any irregularities.
- Allow at least 7 days for proper curing before painting.
- The material is highly alkaline, so painting too soon may cause white efflorescence to appear.
Step 6: Painting and Finishing
- Apply Akrylatex topcoat paint over the entire surface.
- Once dry, apply Lazur Z/W glaze.
- Use a sponge to wipe off excess glaze, allowing it to settle into the texture, enhancing depth and highlighting the wood grain pattern.


How to Apply an Adhered Wood Plank Effect?
The KABE Paints adhered wood plank panels differ from other market options as they are non-repetitive. With 36 unique mold patterns, each panel has a distinct grain, avoiding repetition. Additionally, these panels are extremely thin (~2 mm), making them lightweight and flexible, with precise cuts allowing a maximum deviation of just 1 mm over a 2-meter length.
Two designs are available:
- Basic pattern with emphasized grain.
- Abstract design (available only on request).
When installed without joints, adhered panels closely resemble real wood cladding. They can be used both indoors and outdoors.
How to Quickly and Easily Transform an Interior?
1. Surface Preparation
- Prime the surface with Permuro GT.
2. Applying Adhesive
- Use Kombi Decor Effect adhesive (available in 20 kg buckets), which serves both for adhering panels and filling joints.
- Apply the adhesive with a 4 mm notched trowel, covering only the area where the panel will be placed.
- Plan panel placement using a level to ensure proper alignment.
- Do not apply adhesive over large areas at once—only as much as needed for a single panel, especially in summer.
3. Attaching the Panels
- Attach each panel individually, ensuring proper alignment.
- Panels can be placed with staggered joints or edge-to-edge.
- Remove excess adhesive from the sides.
- Leave a gap between panels of 0-4 mm (typically 2-3 mm).
- If needed, trim gaps with a utility knife or scissors for precise edges.
- Press the panel firmly with a wallpaper roller to expel air bubbles.
- Remove excess adhesive from edges and seal all side joints.
- Wipe the surface with a damp sponge to remove any residual adhesive.
- Wait 24 hours for the adhesive to fully cure.
4. Water Protection and Sealing
Water is the greatest risk for adhered panels. If water seeps under the joints, it may reach the substrate, causing panel detachment during winter.
To prevent this:
- Seal all edges and joints properly.
- Use two layers of paint for additional sealing.
5. Painting and Finishing
- Apply Akrylatex paint to the entire surface.
- Use Akrylatex for secondary sealing of the joints.
- Drying time: approximately 3-4 hours.
- Apply Lazur Z/W to enhance depth and detail.
- This layer also seals the joints for additional protection.
- Work plank by plank on large surfaces.
- Best application method:
- Two-person technique: One person applies the glaze, the other spreads it.
- If working alone, ensure consistent conditions for uniform results.
- Application tools:
- Roller or brush (a brush ensures precision and deeper coverage).
- Spread Lazur Z/W with a damp sponge, moving in one direction only.
The color options for adhered and imprinted wood planks are identical, allowing seamless integration across different application methods.


How to Create an Aged Wood Effect?
To achieve an aged wood effect, apply a black glaze over the existing Lazur Z/W layer. This enhances the depth and highlights the wood grain pattern.
Application Steps:
- Apply the black glaze over the surface.
- Use a sponge to rub the glaze into the grooves and recesses, allowing it to settle in the deeper areas.
Can Decorative Effects Be Applied Outdoors?
Yes, the wood plank effect is created using decorative plasters, which are suitable for both interior and exterior applications.

