How to Create a Brick Effect in an Interior
Step 1: Prime the Wall
Apply a primer and then paint the wall in the color you want for the grout lines.
Step 2: Apply the Stencil
Remove the protective backing from the stencil and attach it to the wall. If you plan to leave the stencil on for an extended period or cover a large surface, secure it with additional tape for stability.
Step 3: Press the Stencil
Before applying plaster, ensure the stencil is firmly pressed onto the wall to prevent shifting.
Step 4: Apply Plaster
Spread a layer of plaster, adjusting the thickness to achieve your desired effect. For a subtle, slightly raised brick look, use a thin layer. For a rough, 3D effect, apply a thicker layer.
If you want an aged, cracked brick look (the "old brick" effect), use NOVALIT MODELOWANY plaster. When heated, this plaster naturally cracks, creating the desired texture.
Step 5: Shape the Pattern
Use a trowel to shape the plaster. Let your imagination guide you to create textures like pits, wrinkles, or cracks. This technique is perfect for accent walls or decorative features like fireplaces.
Step 6: Remove the Stencil and Clean the Edges
There are two ways to clean the edges:
- Let the plaster dry, then smooth it with a sanding stone.
- Remove protruding edges while the plaster is still wet by trimming them immediately after taking off the stencil.
Step 7: Paint the Bricks
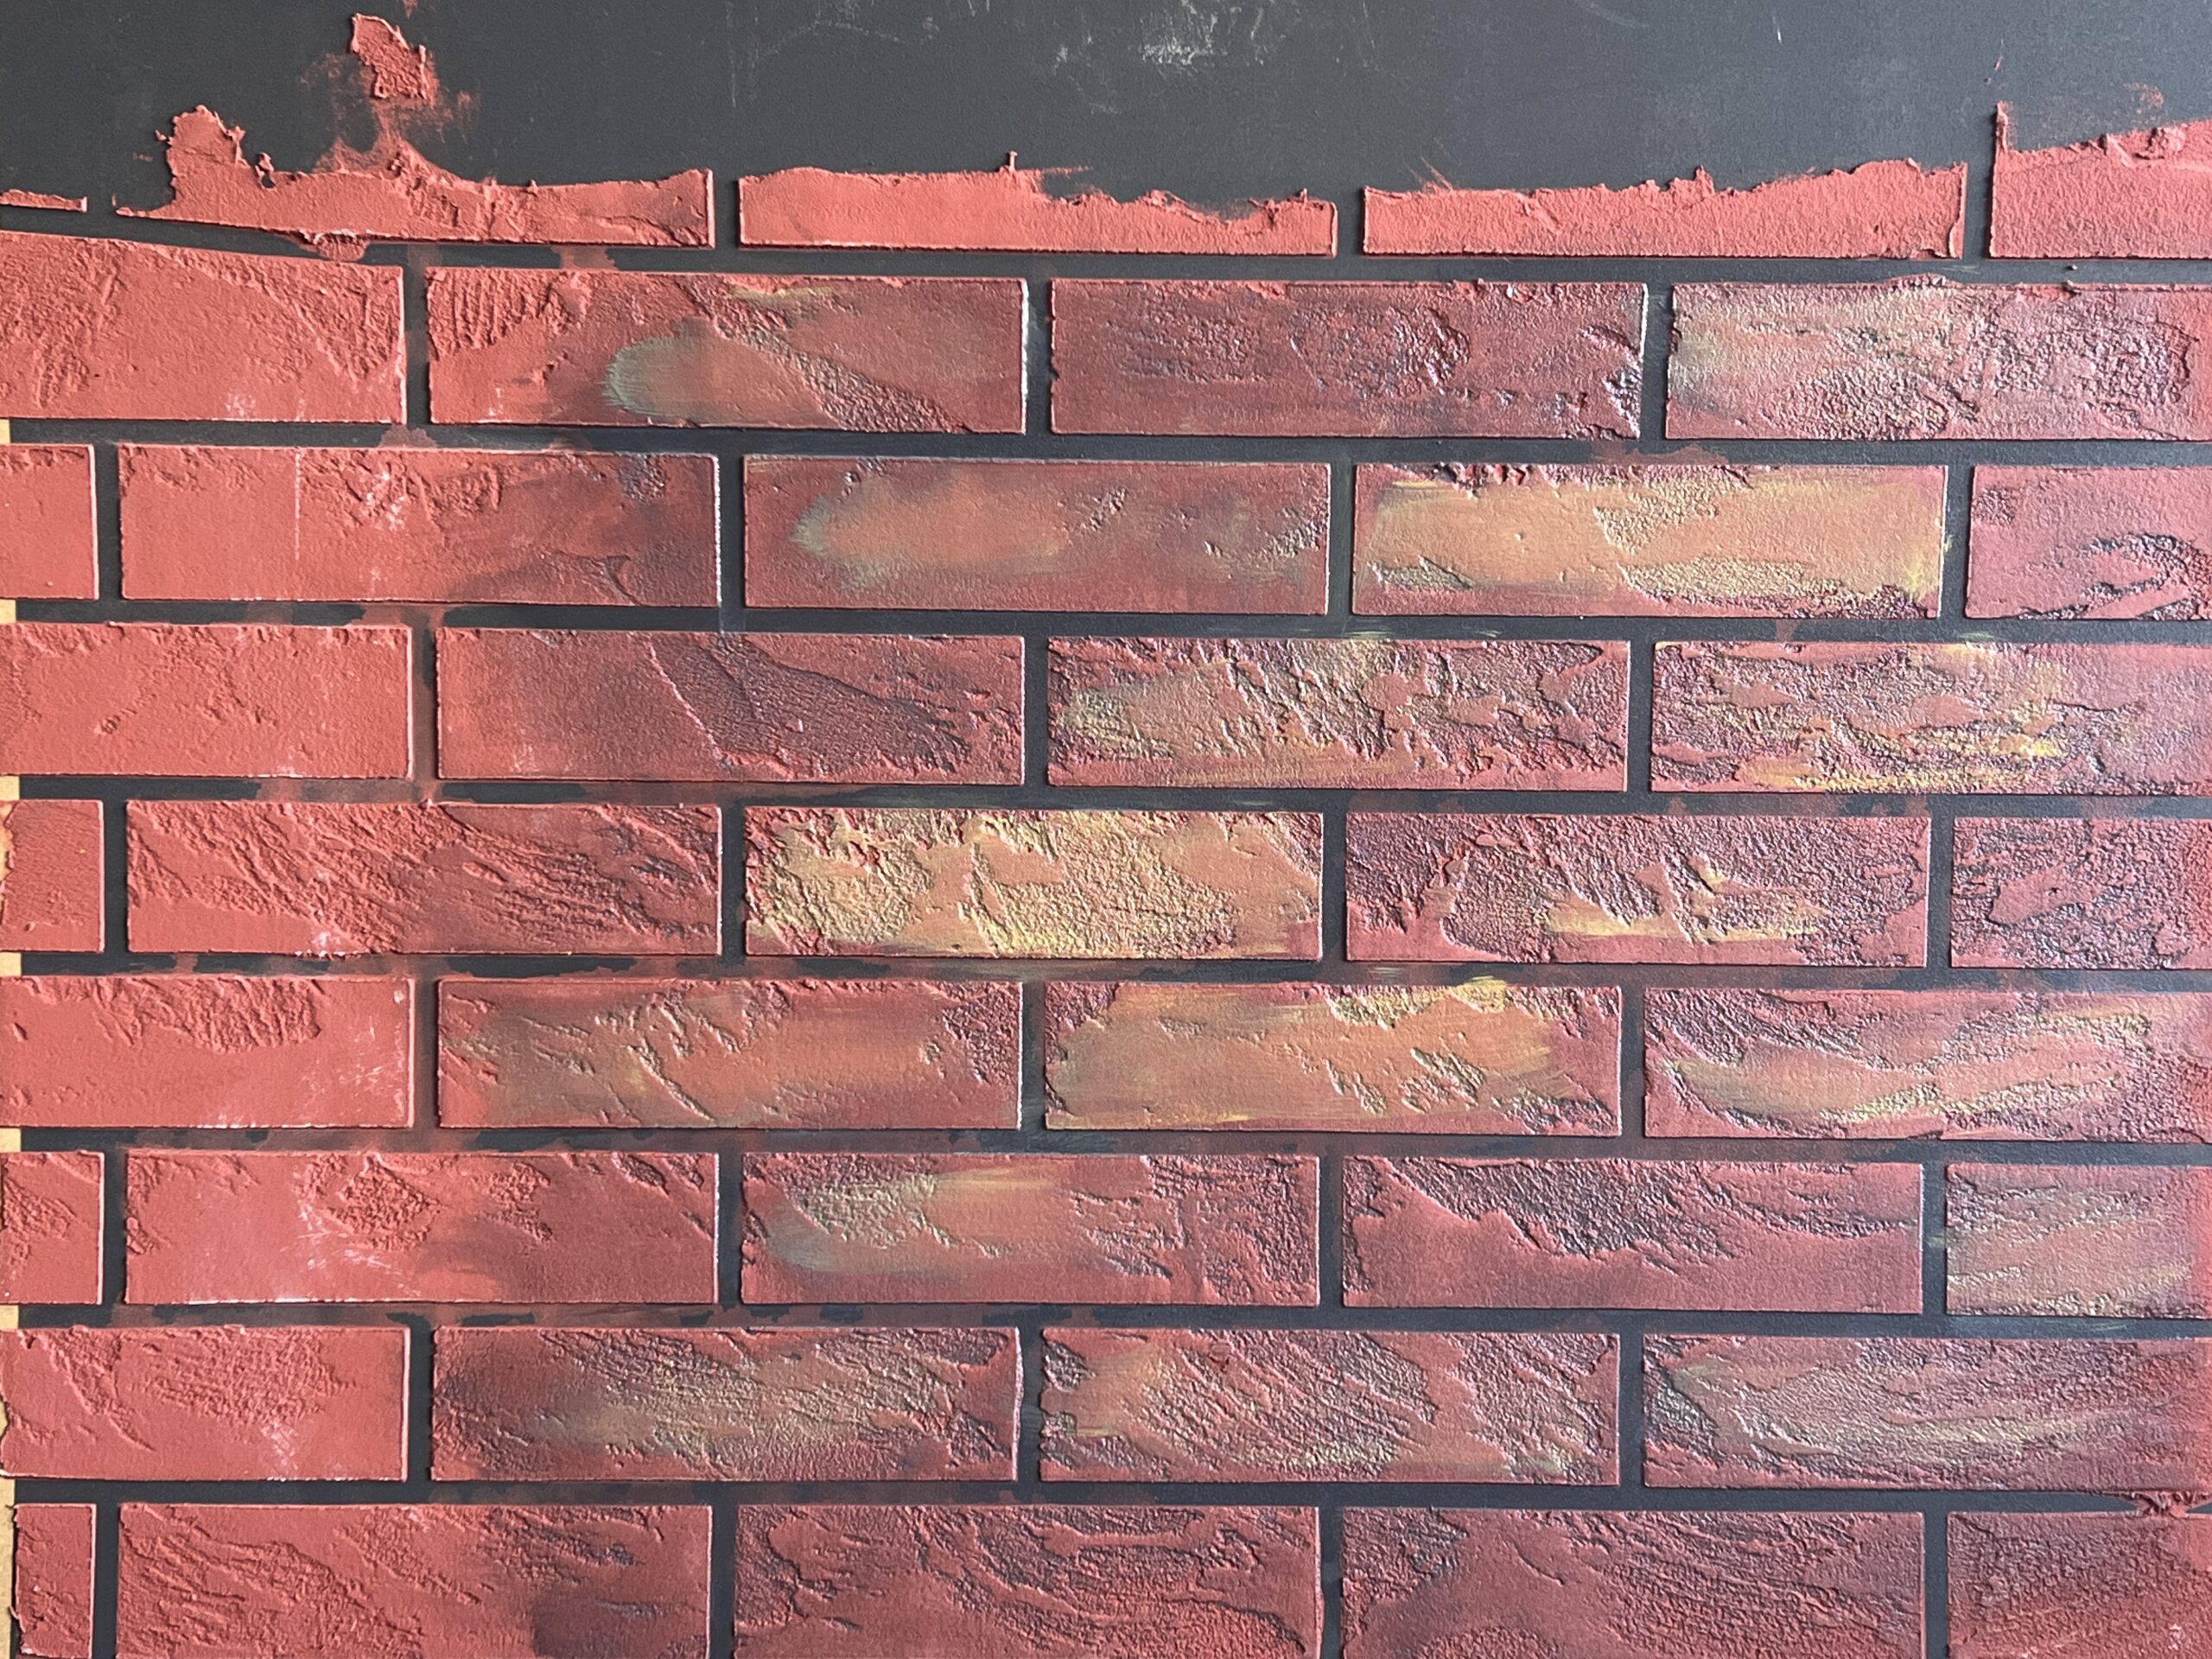
Use a brush or a roller with short bristles to paint the bricks. Be careful not to stain the grout lines.
Step 8: Apply Glaze
To enhance the three-dimensional effect and add character, use LAZUR ZW. This product highlights the texture and pits in the plaster. For a more subtle look, dilute the glaze with water (approximately 30%). Apply in layers for a stronger 3D effect.
Use a brush to apply the glaze and blend it with a sponge to eliminate drips.
For a striking finish, you can paint the bricks in shades of orange or other colors. The more color variation, the stronger the 3D effect, giving the decoration more depth and personality.
