


7. Sanier Waterproofing Studio - Soil and Commercial Investments
November 2, 2022
8. Sanier Waterproofing Studio - Mistakes in Waterproofing Design
November 2, 2022
[vc_row][vc_column][vc_column_text]
How to Create a Bevel?
[/vc_column_text][vc_column_text]A bevel, or rounding, is essential at the junction of the foundation wall with the footing and at the wall-to-wall connections within the foundations. Sharp, external edges of the footing and foundation wall should be chamfered or rounded. These measures allow for the application of an insulation coating of controlled thickness and prevent cracks at material junctions. Additionally, the bevel facilitates the drainage of rainwater.
The purpose of a bevel in construction, particularly at the junction between the foundation slab and the footing, is primarily to ensure a seal. Without a bevel, it is challenging to apply insulation in a concave corner such that it forms an even layer. Applying too thick a layer of insulation materials in corners often results in the insulation tearing due to shrinkage. A thinner layer will dry and shrink much sooner, while in the corners, this shrinkage occurs much later, potentially compromising the integrity and effectiveness of the insulation.
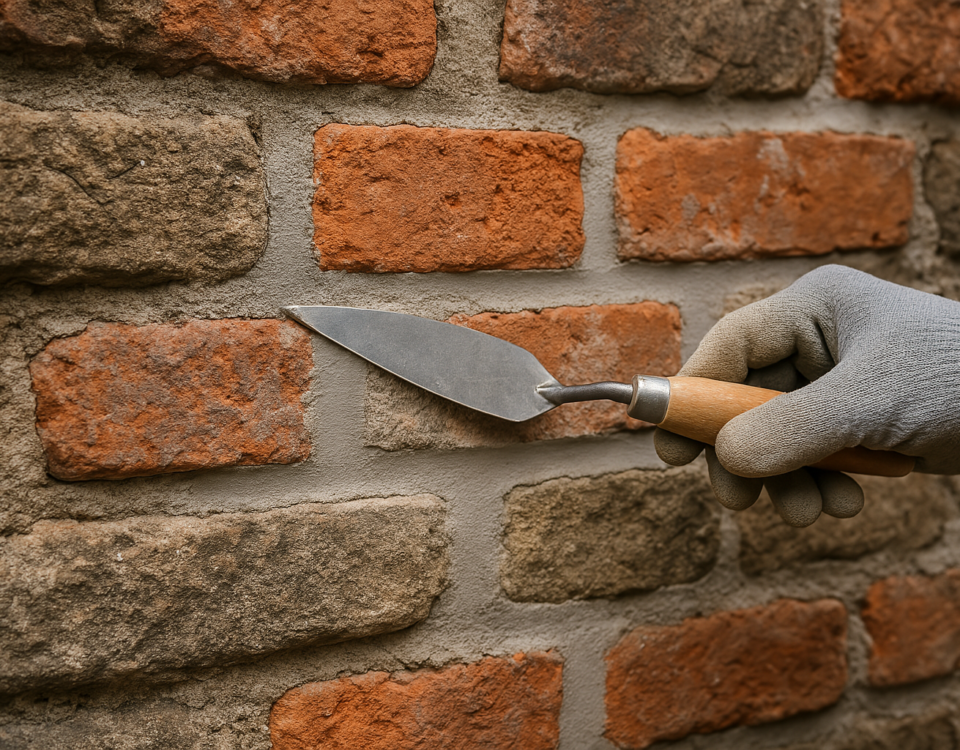
Creating a bevel is not a difficult task. You will need a mineral mortar based on pure cement and a trowel. SANIER recommends using the dedicated waterproof mortar Bostik Sperrmortel for creating bevels. When shaping the bevel, contractors often use a piece of PVC pipe, a regular glass bottle, or a jar to form the rounded or beveled edge.
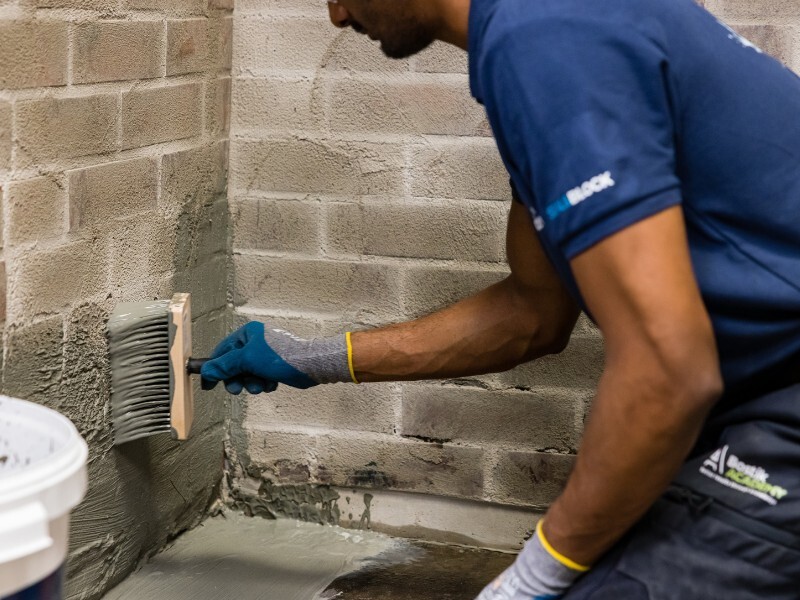
The first step in creating a bevel is to prepare the substrate to ensure it is stable, free of holes, oily stains, paint, plaster, and cement laitance. Once the surface is cleaned and roughened, it should be dusted off.
Before applying the mortar, moisten the surface so that it is in a matte-damp state.
Start by scooping up a manageable amount of mortar with a trowel and throw it into the corner. Initially, drag the trowel through the mortar to collect and spread any excess. Any remaining mortar can be collected and reused. Shape the bevel using a trowel with a rounded side, a piece of pipe, a jar, or a bottle to create a smooth, rounded edge. Allow the mortar to dry; setting time is approximately 5 hours, but full loading should only occur after 24 hours to ensure complete curing and strength development.
Important! It's crucial to chamfer or bevel the connections at the corners of external walls to eliminate 90-degree angles. If this is not done, you should embed a facade mesh or sealing tape within the waterproofing layer. SANIER recommends using the bituminous waterproofing Bostik Dickbeschichtung 2K+ for this purpose.
[/vc_column_text][vc_single_image image="259701" img_size="large" alignment="center"][/vc_column][/vc_row]
